X
Acceso al área privada
Enter your username and password at the top to access additional content
Acceso al área privada
Enter your username and password at the top to access additional content
· Rely on professionals with proven experience in the installation of large format porcelain tiles.
· Observe the manufacturer’s recommendations.
· Review the information contained in data sheets or packaging before using any product.
· Use the right tools for the right type of work.
· Enable a clean and spacious workspace.
· Pay attention to good lighting.
· Prepare a workbench for the slab preparation and gluing operations.
· Evaluate the condition of the spaces to be covered, the substrate and the fixing surface.
· Recosider of the space to be covered, taking into account the variations of the model so as not to repeat the graph consecutively.
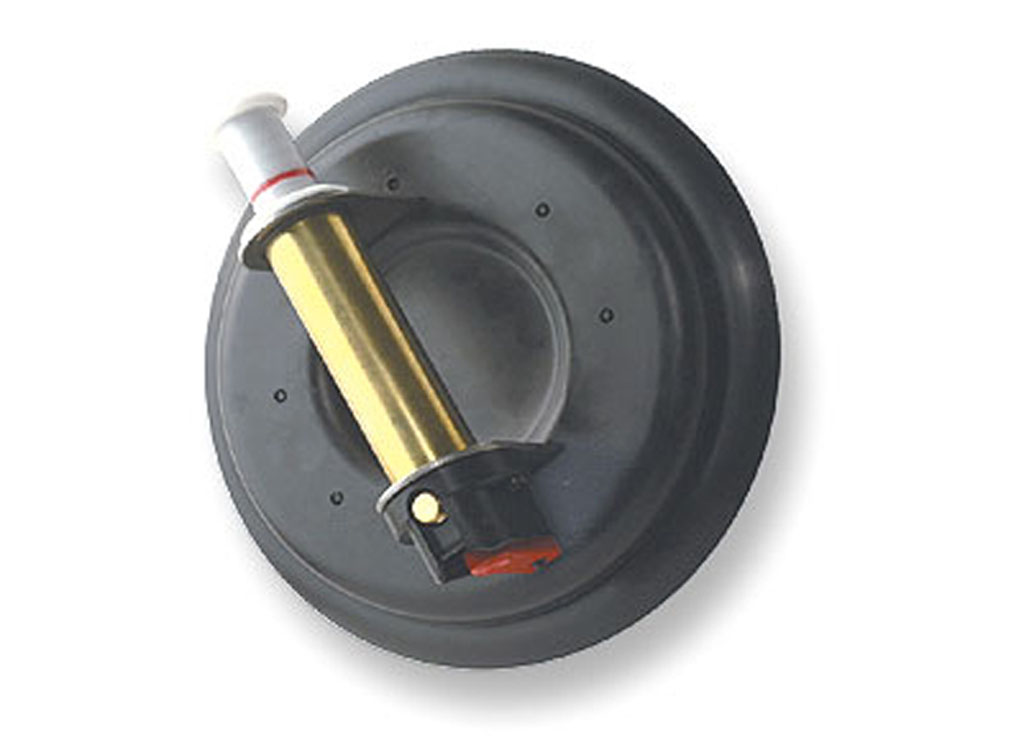
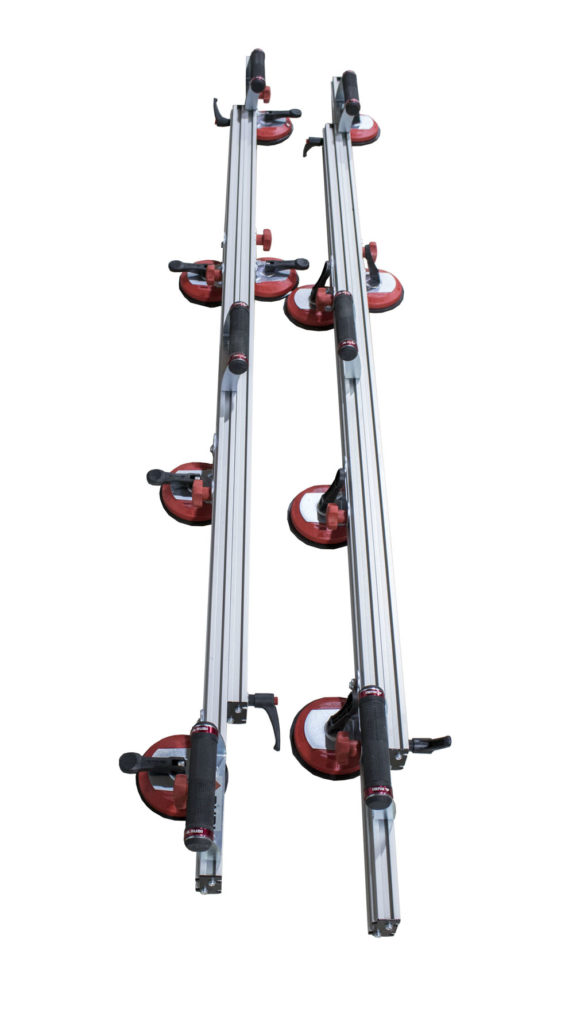
· Rigid frame orsuction cups for handling
· Working Table
· Cutting Guide
· Blender
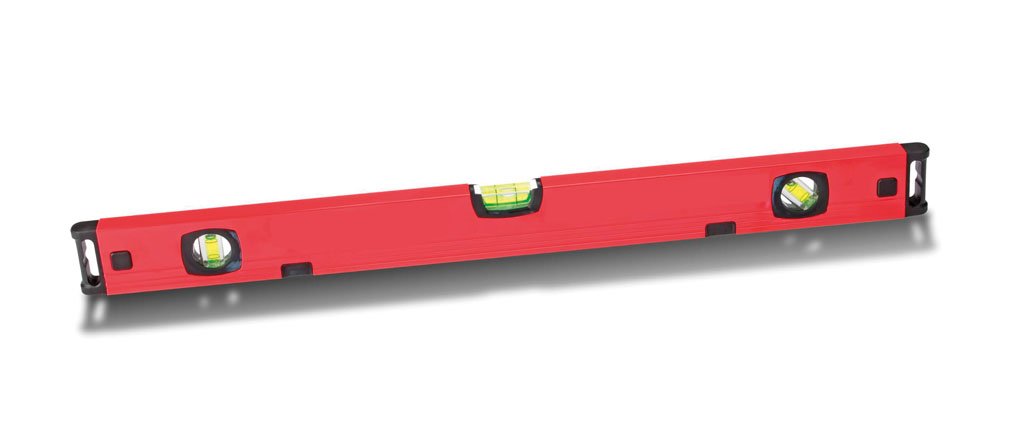
· Bubble level
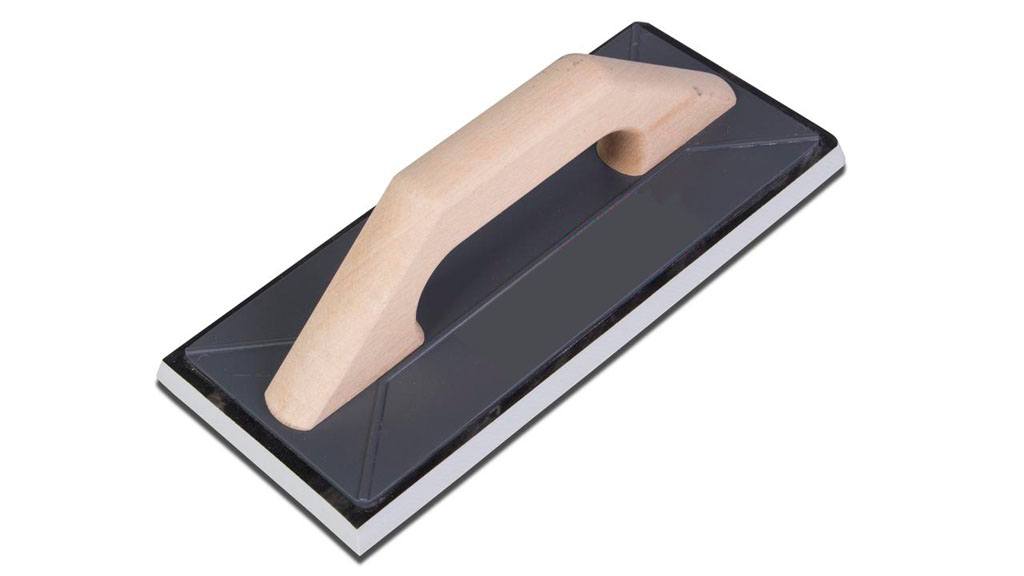
· Different trowels for laying and grouting
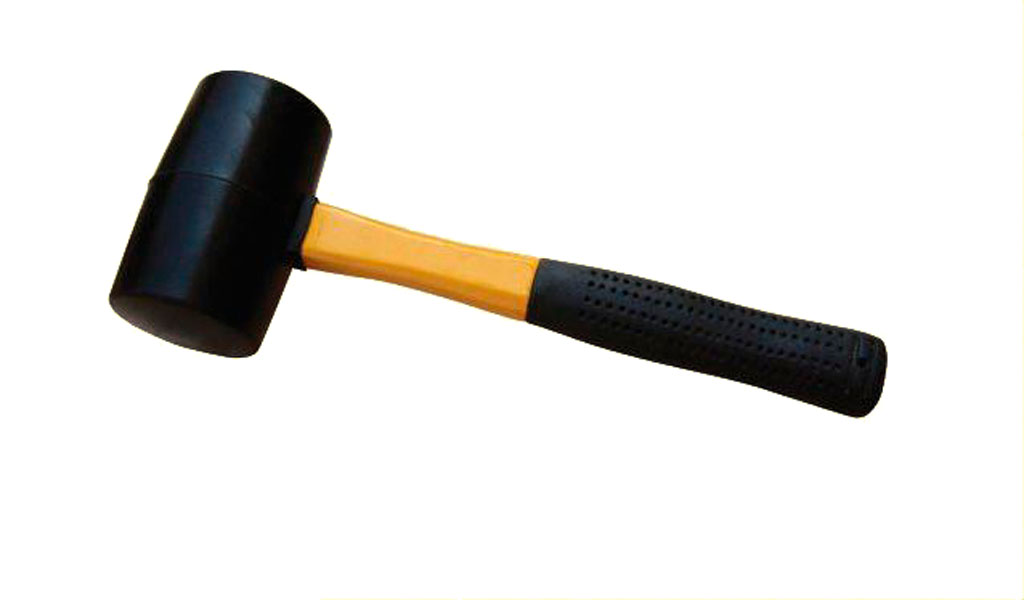
· Maceador (trowel for part hitting)
· Spatula
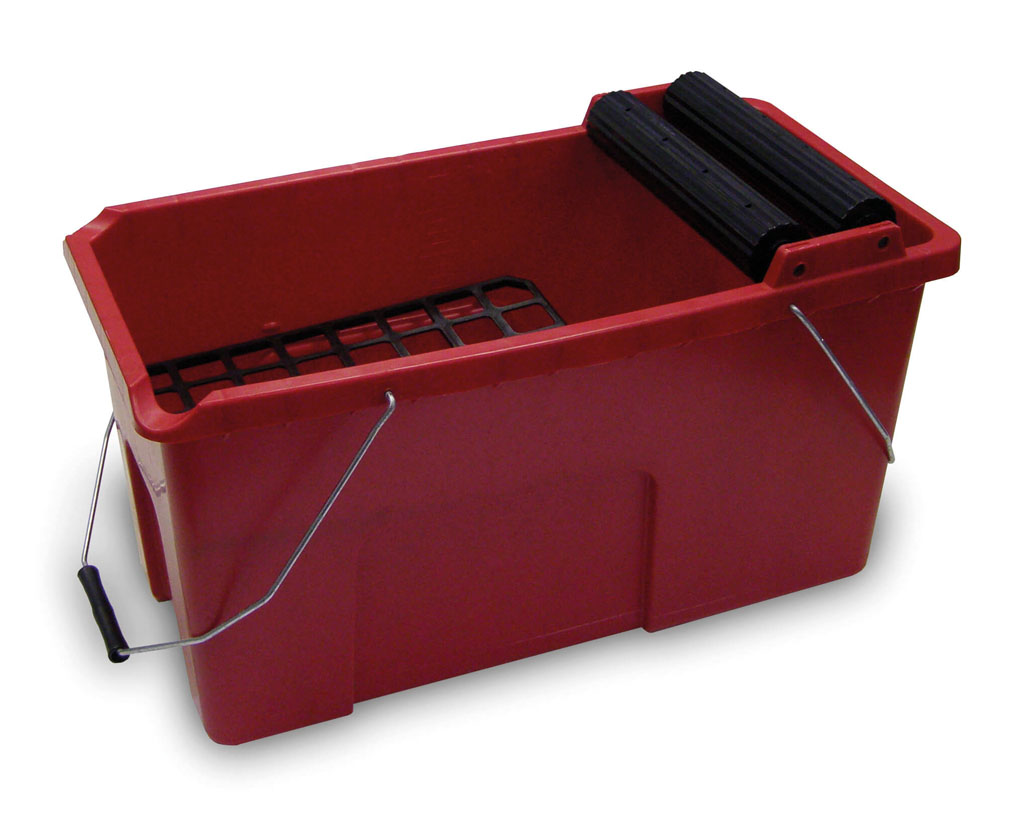
· Bucket.
· Tansport trolley for large format parts
· Vibrator
· Cutting radius with speed adjustment
· Cutting discs – Diamond bits.
· Material polishing discs
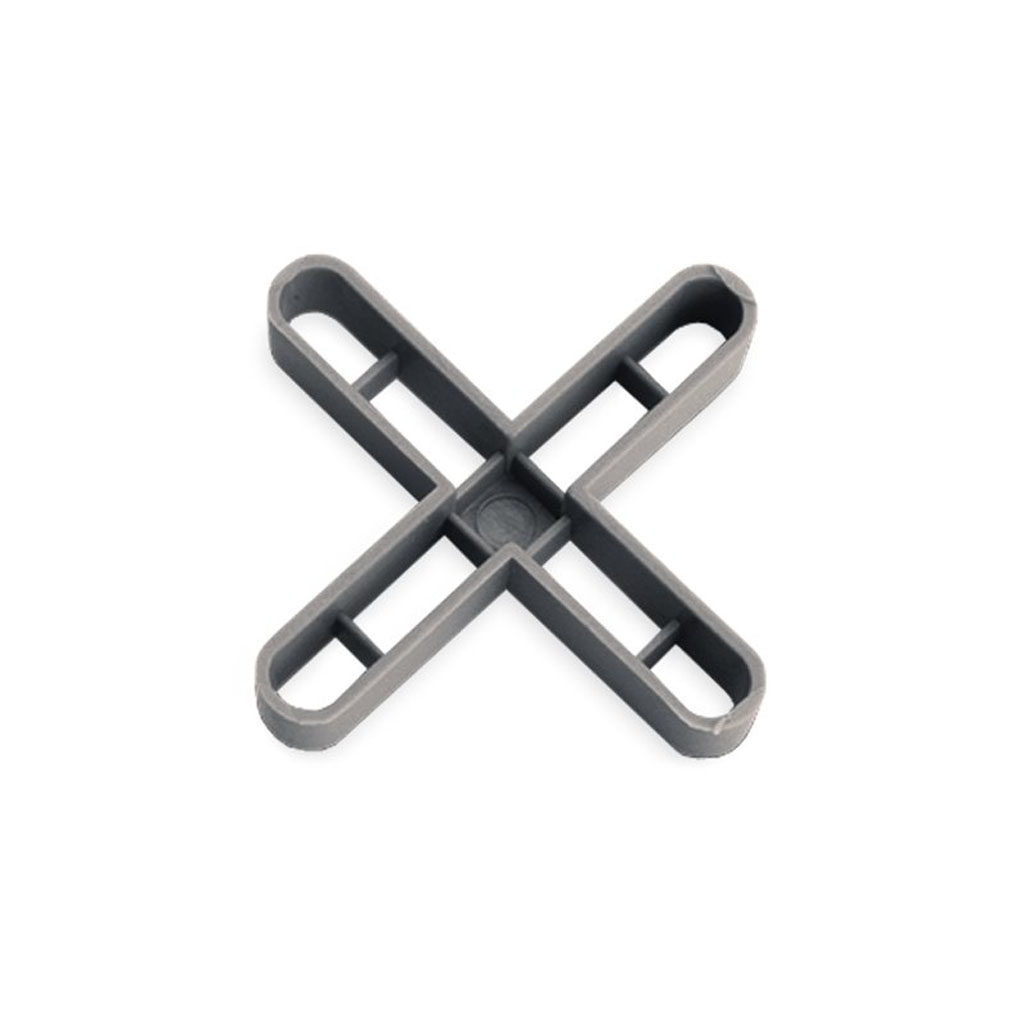
· Separation crossovers.
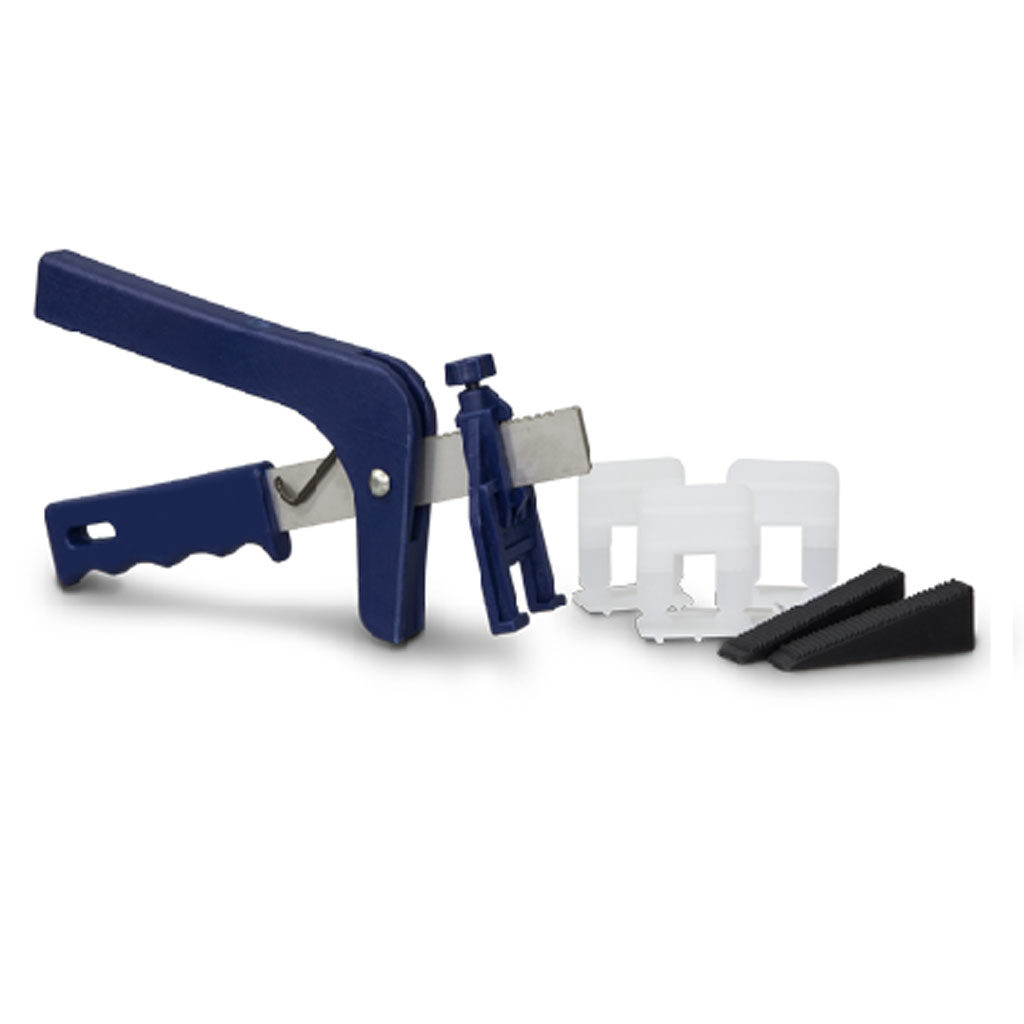
· Leveling System


Before starting, it is essential to work on the installation, a good rething can mean a considerable saving in material and execution time.
Adjust the initial design and continue the layout on site.
Stipulate each and every step to be taken.
With proper rethinking:
· Cutting operations are simplified.
· Narrow strips are avoided and the cutting geometry is optimized.
· Material losses are reduced.
· Asymmetries and incorrect optical effects are avoided.
· The movement joints in the space to be covered must be integrated in the layout.
· The laying sequence of the slats must be scheduled to avoid stepping on the slats that have already been laid (Flooring).
Control and preparation of the substrate.
It is based on the materials and technology used to lay the ceramic tiles.
You need a professional tiler with training and experience.
For the process of laying and installation of ceramic slabs, a part of the equipment and tool is required similar to that used for the laying of any other type of ceramic tile.
Another part of the equipment, tools and machines specifically developed for the laying of ceramic slabs is also required, such as the specific cutting tools and the suction cups or fixed frames for the handling of ceramic slabs.
It is necessary to check that the surface is free of dust, grease, oil, paint, cement, resin or any other particles.
Before laying, ensure that the previous flooring is properly cleaned. In the case of ceramic, marble, terracotta or PVC, oil, wax or grease residues must be removed. For this purpose, it is recommended to start with plenty of water and caustic soda or mechanical abrasion with the appropriate tools. In the case of parquet or natural wood flooring, sanding is recommended to remove the treated layers.
After cleaning, allow the surface to dry completely before starting installation.
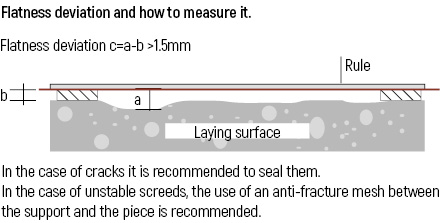
The surface to be covered must be completely flat.
The planimetry of the substrate must be taken into account. If the substrate is not flat, its planimetry must be corrected as much as possible before starting to install with regulating mortar or other self-levelling products.
Supports that comply: (check leveling)
Antique ceramics, plasterboard, self-levelling mortar, plastered and plastered.
Supports that do not comply: (mandatory leveling)
Mortar cementitious coatings, Cement cementitious coatings, Unplastered partition walls.
The UNE 138002 APDO. 6.1.1 standard regarding the stability of the base substrate indicates that a maximum surface flatness of 1.5 mm must be required, measured with a 2 m ruler with level as specified in section 7.10.5.4.
It is advisable to clean the back of the parts before cleaning them in order to remove any traces of material from the manufacturing and grinding process.
For Xlife large format parts, the contact between the part and the support or substrate must be total (100%), so all corners must be covered to avoid air gaps, so the double gluing method is recommended.
The double-gluing method must always be applied when laying ceramic slabs. The adhesive should be applied both on the backing and on the back of the plate, using a notched trowel to ensure 100% wetting of the plates.
Double gluing is necessary and indispensable in order to avoid any problem of holes on the back of the tile and, therefore, the stagnation of rainwater which could create dangerous tensions in the event of frost, which in turn could cause the tiles to detach. Double gluing is also necessary in order to distribute uniformly over a larger surface area the stresses caused by differential movements between the coating and the substrate, for example due to thermal variations.
Use of the double gluing technique
1.- Prepare the adhesive with a blender.
2.- First apply the adhesive on the fixing surface. It is first spread with the smooth part of the trowel and then the adhesive is always combed in a straight line, perpendicular to the long edge of the tile. An 8 mm trowel is recommended.
3.- Secondly, the adhesive is applied to the back of the ceramic slab to complete the double gluing. This operation must be carried out with the smooth part of the trowel so that the entire back of the ceramic slab is impregnated with the adhesive in a thin layer.
Then the piece is combed with the trowel.
Spread the glue in the same direction on the workpiece and on the support.
Carry out the operation in the shortest possible time to avoid the expiration of the maximum open time of the adhesive.After gluing the substrate and the back of the ceramic slab and within the open time of the adhesive, the slab will be placed.
4.- This operation must be carried out by a team of at least two installers.
The use of the frame with suction cups is recommended for holding Xlife parts so that they can be handled more easily and without breakage.
It must be checked beforehand that there are no obstacles to the correct handling of the plate on its way from the workbench to its final location.
5.- To proceed with the placement of the XLIFE slab, the piece is gently supported, keeping it slightly inclined.
6.- With the plate in place and the adhesive fresh, the tapping operation is performed to readjust the slab definitively and form a uniform and well compacted layer of adhesive. For this, rubber trowels will be used and the use of the rubber mallet will be avoided.
7.- Air holes under the tile can cause problems. A vibrator or a dough mixer is used to improve the adhesion of the glue by forming a uniform, well compacted layer of the adhesive, to facilitate the escape of air and to be able to readjust the film definitively.
Pressures should be made from the center of the plate to the outside sides.
After installation, the workpiece with the spacer bars is adjusted to the adjacent workpiece.
8.- Clean any excess adhesive from the joints before setting the adhesive.
9.- It is essential to apply the levelling system to each ceramic slab installed and always within the rectification or retouching time indicated by the manufacturer of the adhesives to prevent it from negatively affecting the adhesive bond.
Insert the spacers to create the desired joint. As a general rule, it is not recommended to leave tile-to-tile joints of less than 3 mm indoors and 6 mm outdoors, unstable substrates or on floors with underfloor heating.
The grouting operation is of great importance for the final result.
10.- It is recommended to wait as long as possible before grouting the coating to ensure the setting and drying of the bonding material.
The tile-to-tile joints must be dry, clean and empty before sealing.
It is important to carry out a complete cleaning after finishing the job.
This operation is the best prevention to avoid surface and stain problems in the future.
The application of double gluing must not exceed the recommended thickness for the adhesive layer recommended by the manufacturer.

Ctra. Vila-real-Onda, Km. 10
12200 Onda, Castellón (Spain)
Apdo. 350 — 12540 Vila-real
Teléfono: +34 964 506 969
contacto@cifreceramica.com
